MinIO service on Linux
1. Download
Get the latest MinIO pkg file by running command:
wget https://dl.min.io/server/minio/release/linux-amd64/archive/minio_20240628090649.0.0_amd64.deb -O minio.deb
2. Install
Install the downloaded package:
sudo dpkg -i minio.deb
3. Create user and group
Create user and group for MinIO
groupadd -r minio-user
useradd -M -r -g minio-user minio-user
4. Create folder for MinIO data
Create folder for MinIO data
mkdir /mnt/minioDisk
chown minio-user:minio-user /mnt/minioDisk
5. Create the Environment Variable File
Create an environment variable file at /etc/default/minio
# MINIO_ROOT_USER and MINIO_ROOT_PASSWORD sets the root account for the MinIO server.
# This user has unrestricted permissions to perform S3 and administrative API operations on any resource in the deployment.
# Omit to use the default values 'minioadmin:minioadmin'.
# MinIO recommends setting non-default values as a best practice, regardless of environment

MINIO_ROOT_USER=minio-user
MINIO_ROOT_PASSWORD=minio-user-password

# MINIO_VOLUMES sets the storage volume or path to use for the MinIO server.

MINIO_VOLUMES="/mnt/minioDisk"

# MINIO_OPTS sets any additional commandline options to pass to the MinIO server.
# For example, `--console-address :9001` sets the MinIO Console listen port
MINIO_OPTS="--console-address :9001"
6. Create the minio.service file
Create a minio.service file at /usr/lib/systemd/system directory.
[Unit]
Description=MinIO
Documentation=https://min.io/docs/minio/linux/index.html
Wants=network-online.target
After=network-online.target
AssertFileIsExecutable=/usr/local/bin/minio

[Service]
WorkingDirectory=/usr/local

User=minio-user
Group=minio-user
ProtectProc=invisible

EnvironmentFile=-/etc/default/minio
ExecStartPre=/bin/bash -c "if [ -z \"${MINIO_VOLUMES}\" ]; then echo \"Variable MINIO_VOLUMES not set in /etc/default/minio\"; exit 1; fi"
ExecStart=/usr/local/bin/minio server $MINIO_OPTS $MINIO_VOLUMES

# MinIO RELEASE.2023-05-04T21-44-30Z adds support for Type=notify (https://www.freedesktop.org/software/systemd/man/systemd.service.html#Type=)
# This may improve systemctl setups where other services use `After=minio.server`
# Uncomment the line to enable the functionality
# Type=notify

# Let systemd restart this service always
Restart=always

# Specifies the maximum file descriptor number that can be opened by this process
LimitNOFILE=65536

# Specifies the maximum number of threads this process can create
TasksMax=infinity

# Disable timeout logic and wait until process is stopped
TimeoutStopSec=infinity
SendSIGKILL=no

[Install]
WantedBy=multi-user.target
7. Start minio service
Start MinIO service:
sudo systemctl start minio.service
8. Check MinIO status
Check MinIO status:
sudo systemctl status minio.service
journalctl -f -u minio.service
9. Set MinIO service to start automatically
Set MinIO service to start automatically as part of the host boot:
sudo systemctl enable minio.service
10. After installation
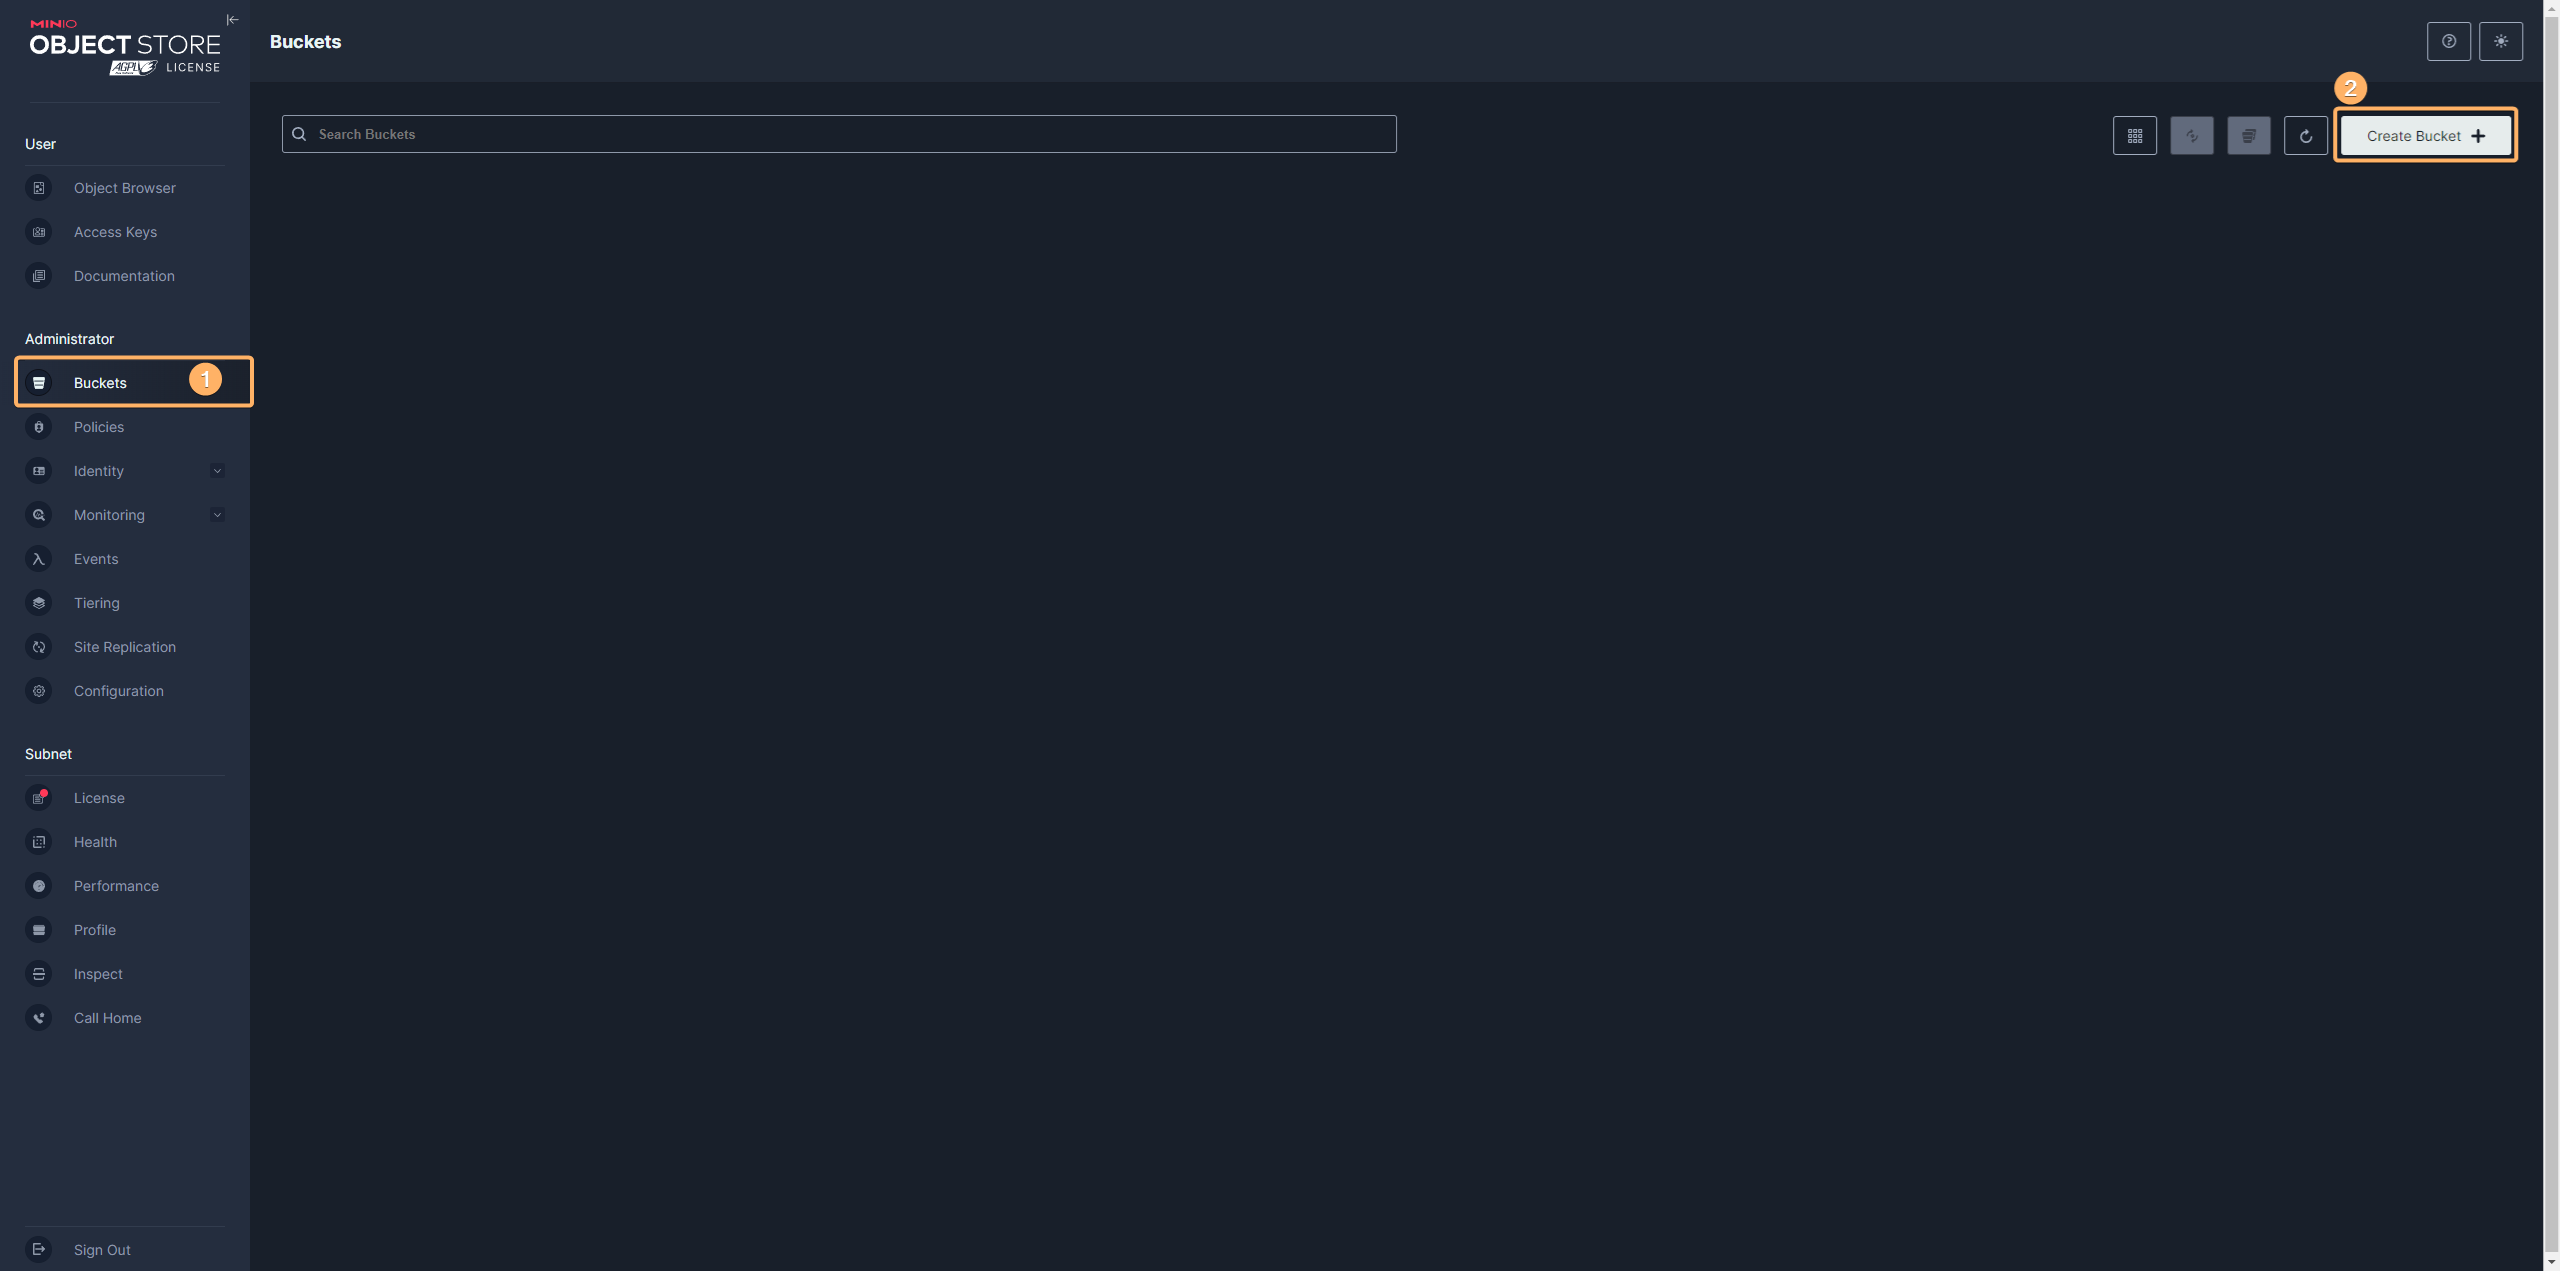
After installing MinIO, you still need to add a bucket. To do this please log in to MinIO as the administrator. Then choose "buckets" (point 1) and create a bucket (point 2).
In the next step, a new window should appear, in which you should enter the bucket name. This name should be a compound of tenant-project (e.g. "training-aio"), where "training" is tenant and "aio" is project.
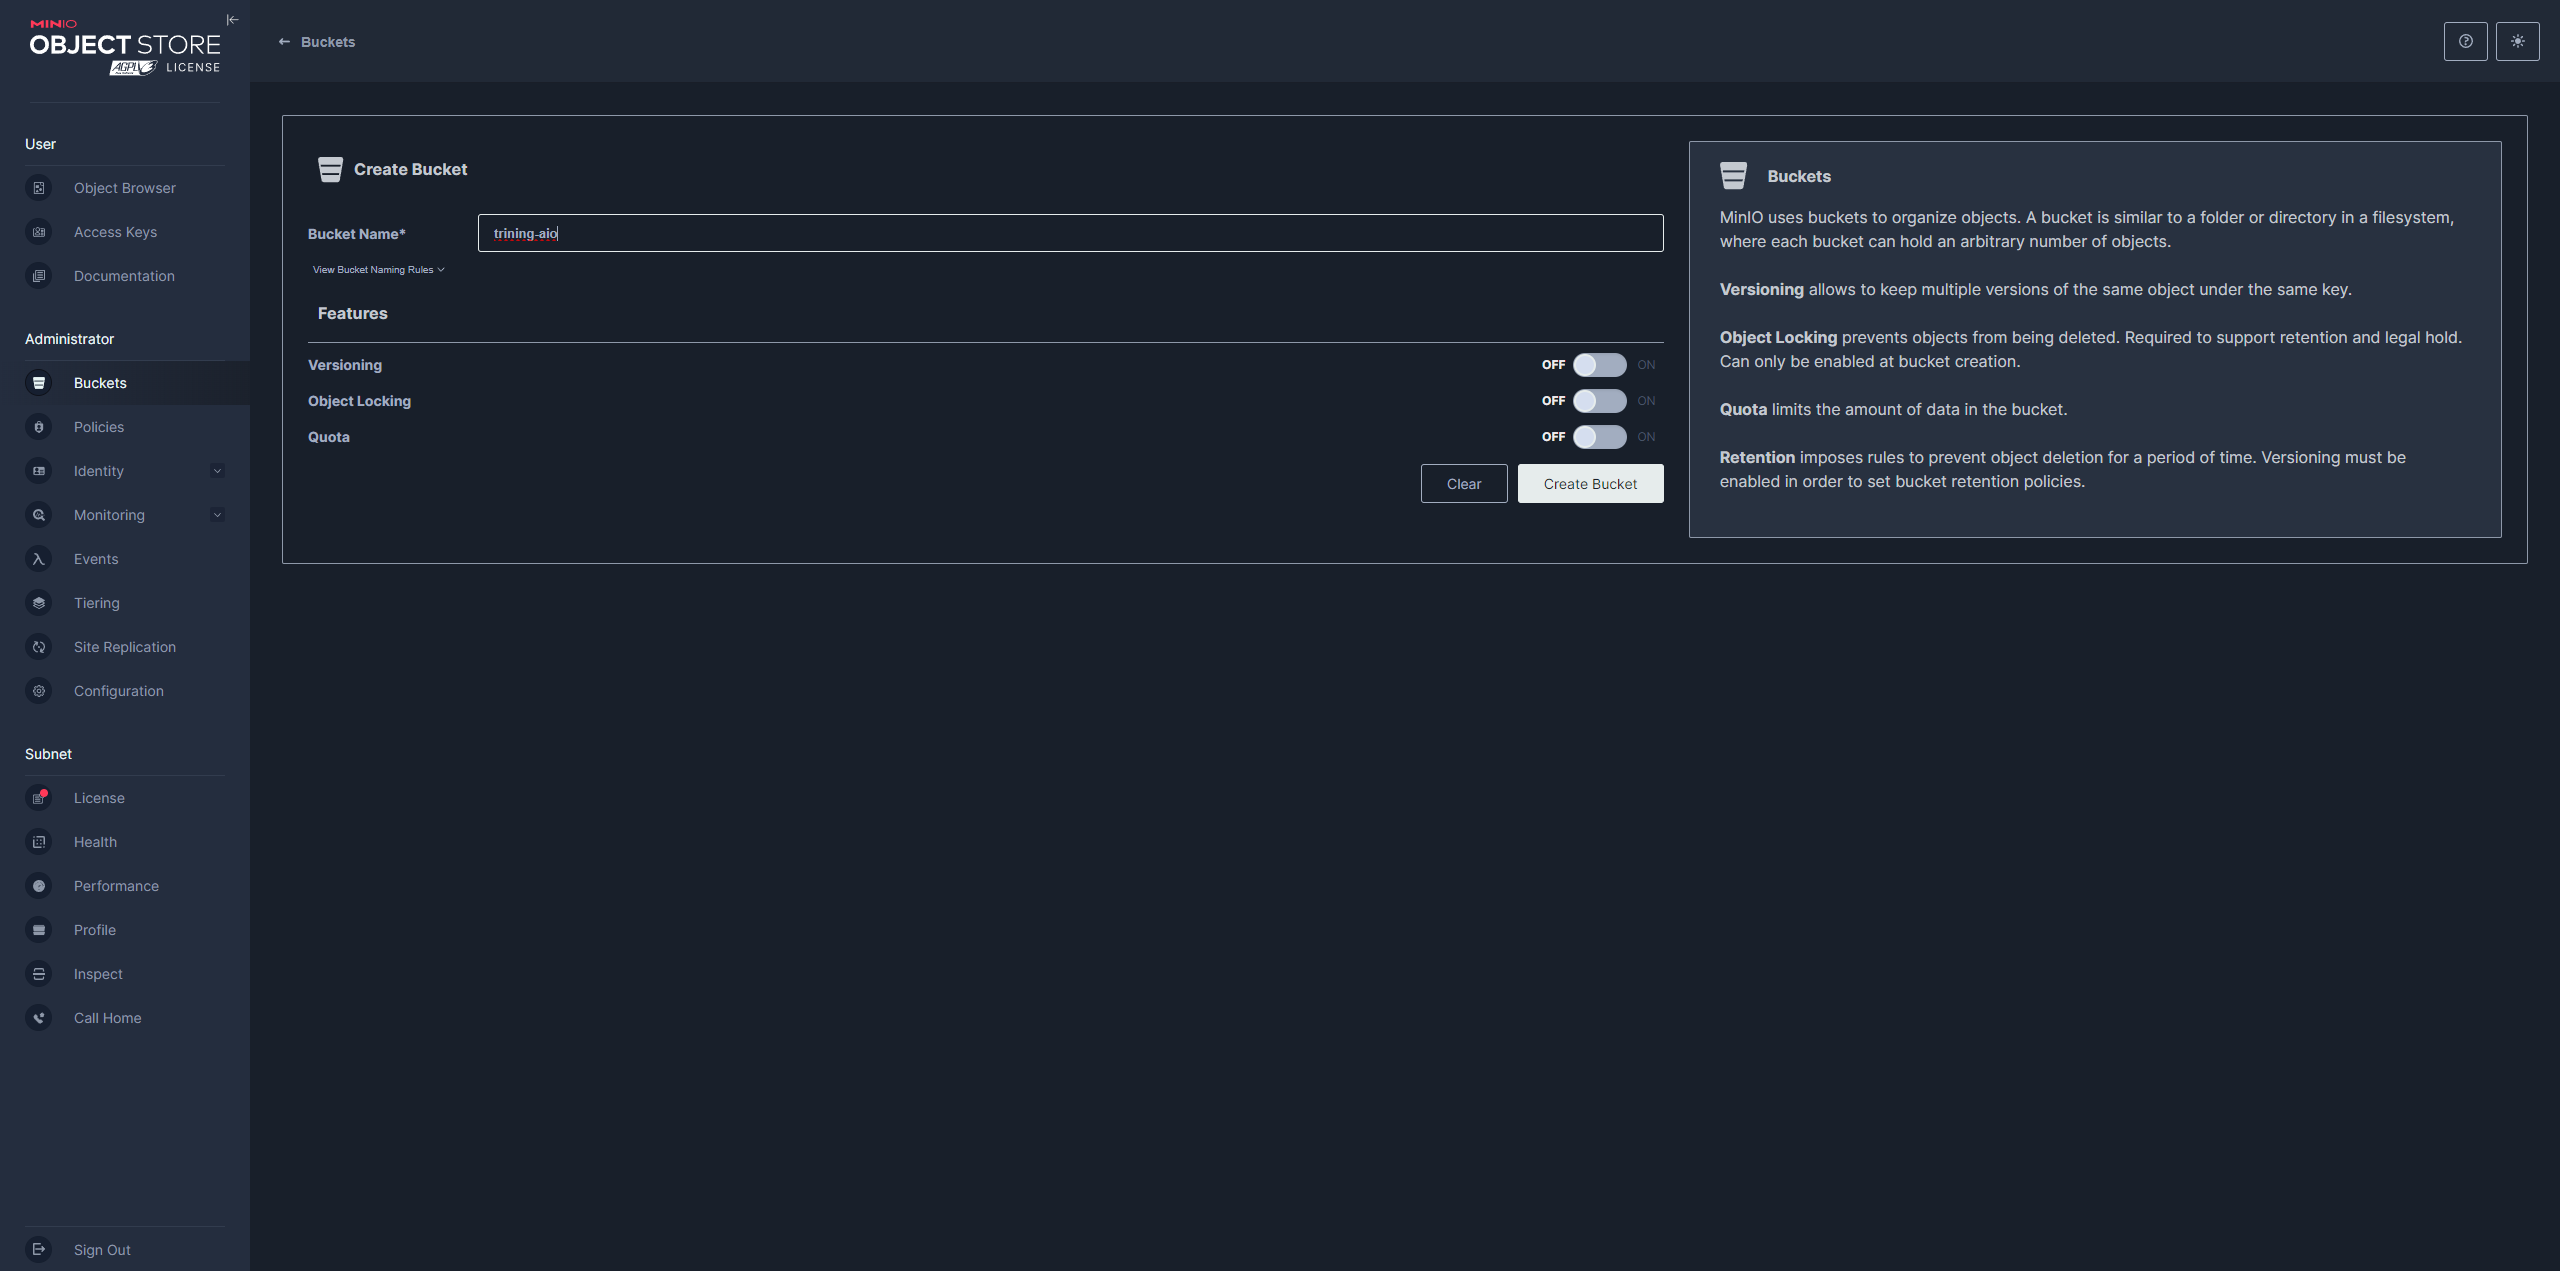
The rest of the options can be skipped and the create button should be pressed.
11. Configuration of object storage SDK and rendering worker service
Documentation about the configuration of object storage SDK and rendering worker service can be found here:
Configuration of MinIO
12. Documentation
More details can be found here:
MinIO for Linux